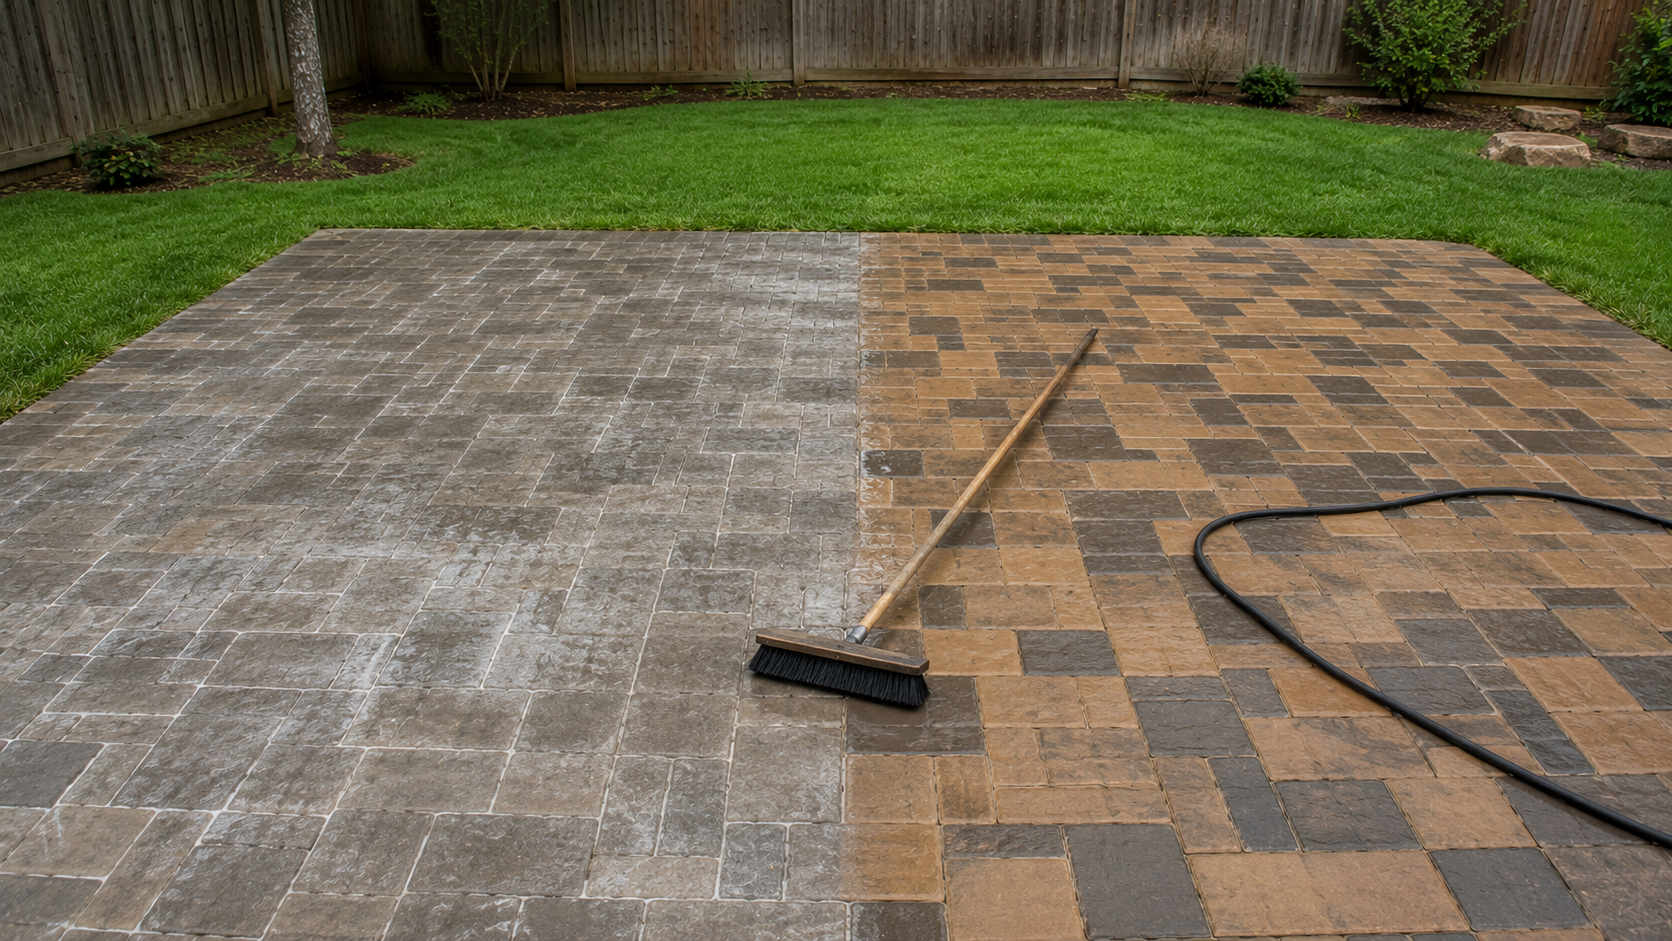
Clean a paver patio with a paver-specific cleaner, a brass or plastic bristle brush, and a thorough rinse. Work from the bottom of the slope upward and test any cleaner on a small hidden area first. Pressure washing works when a professional does it correctly, and it strips joint sand when done wrong.
Learning how to clean a paver patio properly saves you from the two mistakes that cost the most money. People blast joint sand out of the joints with a pressure washer, and they scrub at white haze that was going to disappear on its own.
Most cleaning advice online comes from companies selling cleaners, sealers, or pressure washing services. The guidance below follows the Concrete Masonry and Hardscapes Association, the industry body that publishes the technical standards paver contractors work from.
Can You Pressure Wash a Paver Patio?
Yes, and technique matters more than pressure. CMHA describes professionals cleaning at 1,000 to 4,000 psi at 2 to 6 gallons per minute, which sounds aggressive until you read the rest of the specification.
Two details do the real work. A wide spray nozzle covers more area and keeps sand in the joints. A low angle of attack reduces the risk of dislodging that sand further. Point a narrow nozzle straight down at close range and you will strip the joints no matter what the pressure gauge reads.
CMHA also notes that the final rinse should be water only, and that a large volume of water matters more than high pressure. Volume carries residue away. Pressure just pushes it around.
For a residential patio, you do not need the equipment at all. CMHA says small areas including residential patios, walks, and small driveways clean adequately with cleaner applied by hand, scrubbing, and a thorough rinse from a garden hose.
One tool warning. Steel bristle brushes are not recommended. The bristles loosen, rust, and leave stains behind. Use brass or plastic.
How to Clean a Paver Patio Step by Step
Start by removing specific stains, then clean the whole surface. Doing it in that order keeps you from grinding a stain deeper while washing everything around it.
- Clear the patio. Move furniture, planters, and grills off the surface.
- Sweep off loose debris. Leaves and soil left in place turn into mud.
- Protect the plants. Tie back or cover nearby shrubs. If you plan to use an acidic cleaner, saturate surrounding vegetation with water first so it absorbs less runoff.
- Turn off the sprinklers. Keep them off through cleaning, sealing, and drying.
- Treat individual stains. See the stain guide below.
- Test your cleaner. Pick a small hidden area and check both cleaning power and any color change before you commit.
- Work up the slope. Start at the bottom and move upward in manageable sections so cleaner drains across surface you have already wet. Dry pavers ahead of you also make remaining stains easier to see.
- Rinse thoroughly with plain water. Watch where runoff pools, because cleaner sitting in a low spot can stain.
Wear eye protection and gloves with any acidic cleaner. CMHA calls for protective clothing, chemical resistant boots and gloves, and goggles for acid or alkali work.
What Is the White Haze on Pavers?
That white powdery film is efflorescence, and it is a byproduct of concrete curing rather than a stain. When cement hardens it forms calcium hydroxide, which dissolves in water and travels to the surface, where it reacts with carbon dioxide in the air to become calcium carbonate.
Two things worth knowing. Efflorescence does not affect the structural performance or durability of your pavers at all. And it can peak as soon as 60 days after installation, then fade over the following months as it wears away.
If you want it gone sooner, a proprietary efflorescence remover works. The acid in those products comes buffered specifically so it cleans without damaging the paver surface. One application usually does it.
How Often Should You Clean Pavers?
Clean when the patio tells you to rather than on a schedule, because usage and exposure vary far more than any calendar can account for. A shaded patio under trees needs attention several times a year. An open patio in full sun may go much longer.
Sweep and rinse as debris collects. Beyond that, watch for these:
- Organic growth. Green or black film means moisture is sitting on the surface long enough for algae or moss.
- Fresh spills. Treat immediately. CMHA notes that food, grease, and drink stains come out far more easily when handled right away.
- Joints looking low. Sand loss shows up as slightly recessed lines between pavers.
- Color looking flat. A film of accumulated dirt dulls color long before you notice individual stains.
- Standing water after rain. This one signals a base problem rather than a cleaning problem, and our guide on why pavers sink covers it.
Oklahoma adds two seasonal triggers. Spring pollen and storms leave organic film, and summer entertaining leaves food and grease. Those two windows are when most Tulsa area patios need attention.
Do You Need to Seal a Paver Patio?
Sealing is optional for most residential patios, and so is joint sand stabilization. CMHA states that stabilization is generally optional and not required for many interlocking concrete pavements, because joints tighten naturally over time as silt and fine particles work into the spaces between sand grains. Sealers serve a different purpose, protecting the paver surface from stains and water rather than holding sand in place, and they are equally optional for a patio that is not stain-prone.
Where each one genuinely helps:
- Joint sand stabilization — slopes over 7 percent, where CMHA recommends it to prevent washout. Also downspout outlets, drip lines under eaves, areas receiving sheet flow, heavy rainfall, and high wind exposure.
- Sealing — around grills, trash receptacles, and driveways where oil drips, plus anywhere you want color enhanced.
If you do seal, the preparation matters more than the product. Remove all dirt, oil, and efflorescence first. Let the surface dry completely, with at least 24 hours free of moisture before you apply anything. Sealing over damp joints or a poorly draining base turns the sealer cloudy, and fixing that means removing or redissolving it.
One expectation to set. Sealers protect appearance and resist stains. They add nothing to the structural capacity of the pavement, and CMHA is explicit that base thickness calculations should never count on them.
Removing Specific Stains From Pavers
Match the treatment to the stain, because the right treatment depends on what caused the stain. These come from CMHA guidance:
- Oil or grease that soaked in. Blot up excess, cover with kitty litter or another absorbent, leave it a day, then sweep up.
- Food, ketchup, mustard, drink spills. Apply liquid detergent at full strength, let it sit 20 to 30 minutes, scrub, and rinse with hot water.
- Leaf, wood rot, or tobacco stains. Household bleach and a stiff bristled brush.
- Tire marks. Water, detergent, and scouring powder.
- Chewing gum. Scrub with naphtha.
- Clay soil. Scrape off the dry material first, then scrub and rinse with hot water and a strong detergent.
Deep-set oil often needs repeat applications. And for a badly stained paver that will not come clean, replacing that single unit is an option, though CMHA notes cleaning is usually easier and cheaper than replacement.
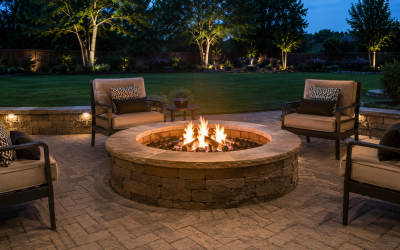
Soot and heat marks are their own category. If your patio has a fire feature on it, our guide to fire pits on paver patios explains why that discoloration happens and how to prevent it.
When Cleaning Reveals a Bigger Problem
Sometimes a good cleaning uncovers something a cleaner cannot fix. Cracked or broken units, joints that keep emptying no matter how often you refill them, or sections sitting lower than the rest all point underneath the surface rather than at it.
Those are base and installation issues. Arrow Outdoor Living installs and repairs paver patios across the Tulsa metro with in-house crews, and we can tell you whether a section needs resetting or the base needs rebuilding. We serve Tulsa, Broken Arrow, Bixby, Jenks, Owasso, and the surrounding communities.
You can see our work on the Tulsa paver installation page.
Request a free on site estimate from Arrow Outdoor Living and we will take a look at what is going on underneath.